
Elementor #23921
How to Install an O-Ring: A Quick Step-by-Step Guide
-
Prepare the Components
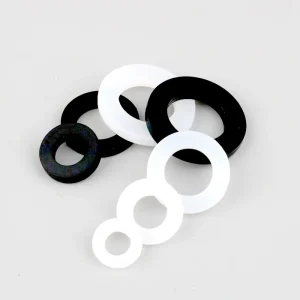
- Clean the groove and mating surface thoroughly. Remove all dirt, burrs, or sharp edges that could damage the O-ring.
-
Choose the Right Lubricant
- Apply a thin, compatible lubricant to the O-ring. This helps with installation and prevents twisting or pinching.
-
Install the O-Ring Carefully
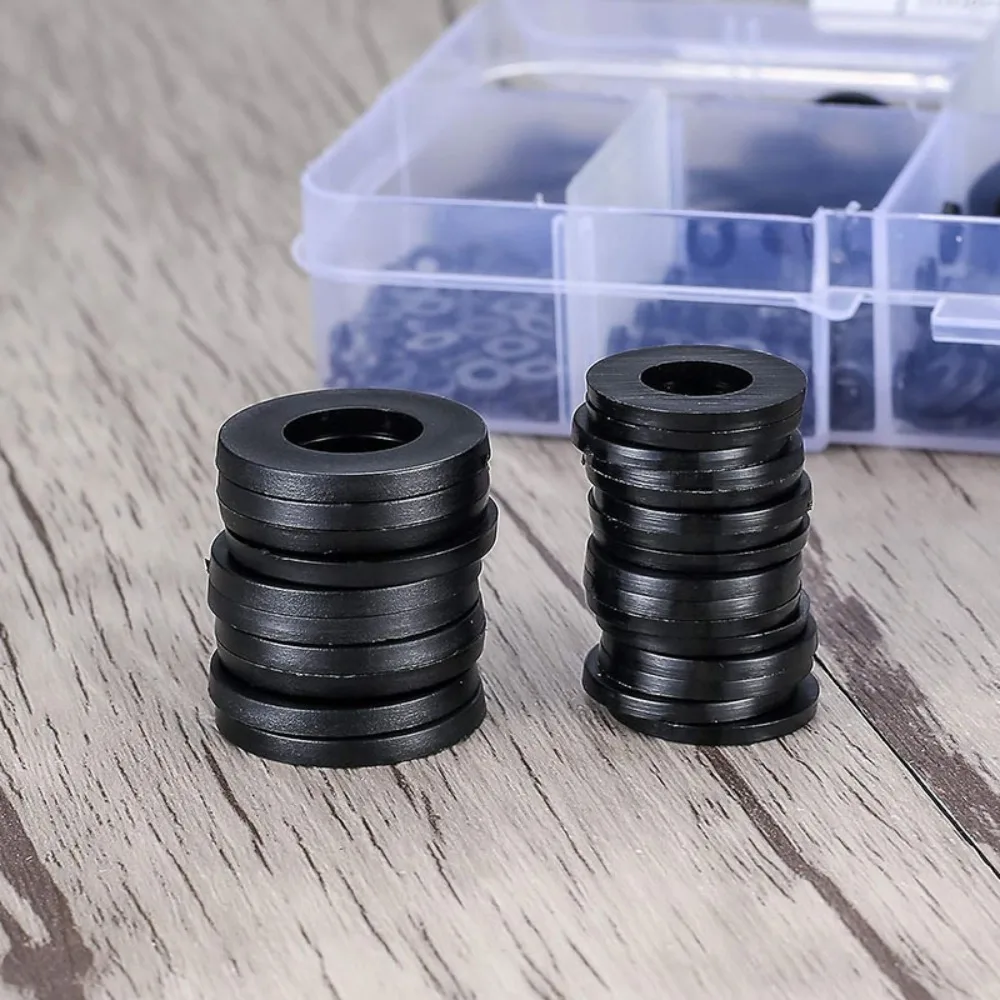
- Gently fit the O-ring into the groove. Avoid overstretching it, as this can weaken the material and cause leaks.
-
Check for Proper Seating
- Ensure the O-ring sits evenly in the groove, with no twists or gaps. The seal should be flush with the surface.
-
Assemble the Parts
- Align the mating components carefully. Slide them together slowly to avoid nicking or displacing the O-ring.
-
Test for Leaks
- After assembly, perform a pressure or leak test to confirm the seal works as intended.
Lorem ipsum dolor sit amet, consectetur adipiscing elit. Ut elit tellus, luctus nec ullamcorper mattis, pulvinar dapibus leo.